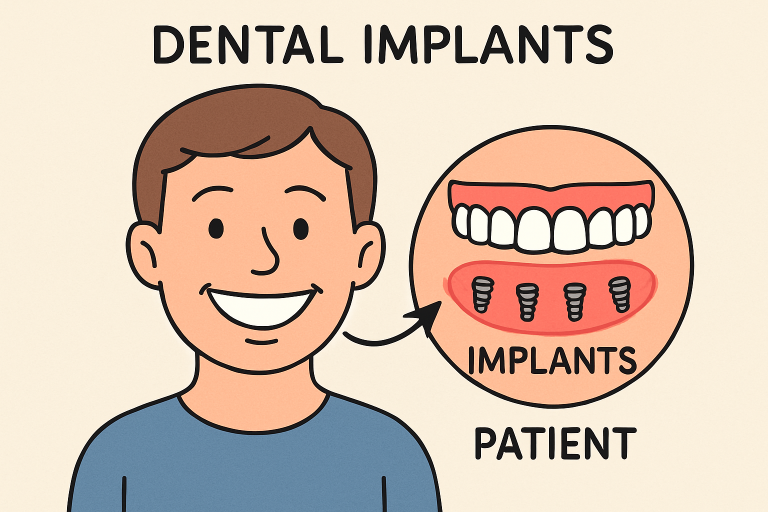
A Comprehensive Guide To The Process Of Dental Implants
Dental implants, which provide longevity, functionality, and a natural appearance, have emerged as the go-to option for replacing lost teeth. For patients considering implants, one of the most common concerns is understanding what the procedure actually involves. While the process may seem intimidating at first, it is carefully structured and designed to ensure long-term success. Working with experienced dental implants specialists ensures each stage of the procedure is performed with precision, leading to lasting and natural results. The main phases of the dental implant process, from consultation to full restoration, are described in this detailed guide.
Step 1: The Initial Consultation
The first stage begins with a thorough consultation. Your dentist assesses your dental health, goes over your medical history, and talks with you about your objectives during this appointment. X-rays or 3D scans are often taken to assess bone density, gum condition, and the overall structure of your mouth.
This evaluation determines whether you are a good candidate for implants. Factors such as sufficient jawbone density, healthy gums, and overall medical stability are crucial. If any concerns arise—such as gum disease or inadequate bone mass—your dentist will suggest treatments to prepare you for the implant process.
Step 2: Treatment Planning
Once candidacy is confirmed, a personalised treatment plan is created. This plan covers details like the number of implants needed, their placement, and the type of restoration (such as a crown, bridge, or denture).
This stage is also where your dentist discusses the expected timeline, costs, and anesthesia or sedation options. Having a clear plan ensures that both you and your dental team are aligned on the process and outcomes.
See also: From Service to Self-Care: Prioritizing Oral Health in Civilian Life
Step 3: Preparatory Procedures (If Needed)
Not every patient requires preparatory treatments, but they are sometimes necessary to ensure long-term success. For example, if your jawbone lacks the strength to support an implant, a bone graft may be performed. This involves adding bone material to strengthen the area where the implant will be placed.
Other preparatory steps might include tooth extractions or gum treatments. While these add time to the overall process, they create the strong foundation needed for a durable and lasting implant.
Step 4: Placement Of The Implant
The actual dental implant is then surgically positioned. A titanium post is gently put into the jawbone after a little incision is made in the gums under local anesthetic or sedation. By acting as a substitute tooth root, this post provides a sturdy anchor for the subsequent repair.
The procedure is typically straightforward, and most patients experience minimal discomfort. Afterwards, stitches may be placed to aid healing. In order to ensure stability, the implant is allowed to fuse with the jawbone.
Step 5: Healing And Osseointegration
One of the most important parts of the implant process is osseointegration. The implant and jawbone fuse together at this time, forming a strong and sturdy base. Healing times vary but generally range from three to six months.
During this time, temporary teeth may be provided so that you can maintain normal function and appearance. Regular check-ups ensure the healing process is progressing smoothly and without complications.
Step 6: Placement Of The Abutment
Once osseointegration is complete, the next step is attaching an abutment. This small connector piece is placed on top of the implant to hold the final restoration securely in place. The procedure to expose the implant and attach the abutment is minor and typically requires only local anesthesia.
The gum tissue is then given a short period to heal around the abutment before the final crown, bridge, or denture is added.
Step 7: Final Restoration
The last stage of the procedure is fitting the permanent restoration. A custom-made crown, bridge, or denture is designed to match the colour, shape, and size of your natural teeth. Once attached to the abutment, the restoration completes your smile.
At this point, the implant functions just like a natural tooth. Knowing that your replacement tooth is stable and long-lasting allows you to smile, talk, and eat with assurance.
Step 8: Ongoing Care And Maintenance
Even though dental implants are meant to last a lifetime, adequate maintenance is necessary to ensure their longevity. Routine brushing, flossing, and dental check-ups keep both the implant and the surrounding tissues healthy. With good oral hygiene, implants can last decades, making them a lifelong solution.
Conclusion
Reliable results are guaranteed by the meticulous planning and execution of the dental implant operation. The outcome depends on each step of the procedure, from the first consultation and treatment planning to the surgical installation, recuperation, and final restoration. While the journey requires patience, the end result—a beautiful, functional smile—makes it well worth the investment.


